The Oakley Airbrake XL comes standard with two sets of PRIZM lenses so you can swap lenses on the fly when conditions change. This gives you the benefit of having the most optimal lens for the conditions you are riding in. Finding your lines easily, seeing the minor bumps and edges in the snow, and not having to squint to see will make your overall riding experience that much more enjoyable. In the video below we show you how to quickly interchange Oakley Airbrake XL lenses.
We also have a full review of the Oakley Airbrake XL if you want to discover all the features this goggle has to offer.
Steps to Remove Oakley Airbrake XL Lenses
- Open outrigger on right side of goggles(lens facing you).
- Unhinge the Switchlock tab at bottom edge of goggle frame.
- Remove lens by grabbing it on the outside edge-try not to touch inside of lens.
Steps to Insert Oakley Airbrake XL Lenses
- Line up the outside notch in the lens with the tab on the left side of the goggle(facing you).
- Walk the outside of the lens along the top and bottom of the frame towards the right side of the goggle.
- Align second hole with tab on right side of goggle(facing you).
- Pull down Switchlock lever until you hear it snap into place.
- Make sure lens is fully secure.
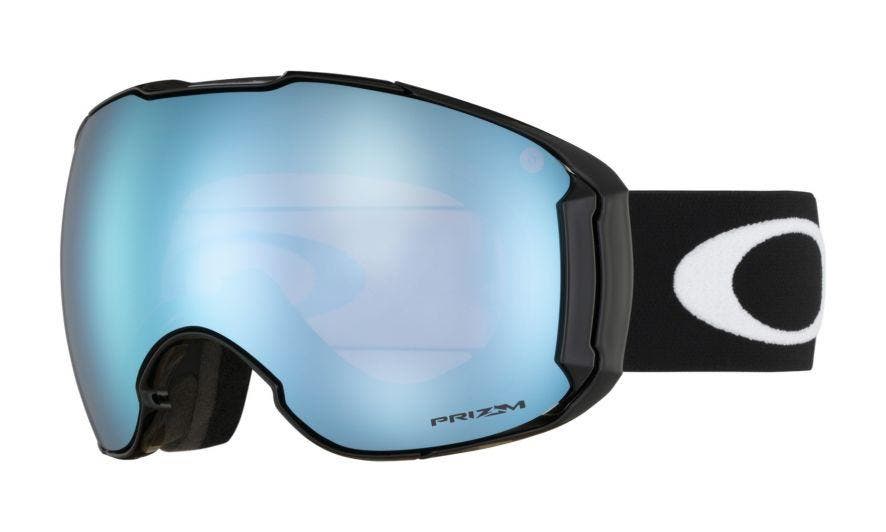
Oakley Airbrake XL
Oakley Airbrake XL in Matte Black with PRIZM Sapphire Lens
Shop Oakley Airbrake XL
Prescription Oakley Airbrake XL Goggles Online at SportRx!
Did you learn everything you wanted to know about the Oakley Airbrake XL? Did you know you can get your goggle in prescription? That's right! We have prescription inserts to fit any Oakley goggle so you can have crystal clear vision out on the slopes. Contact Us with any questions about the Oakley Airbrake XL or other Oakley Snow Goggles.