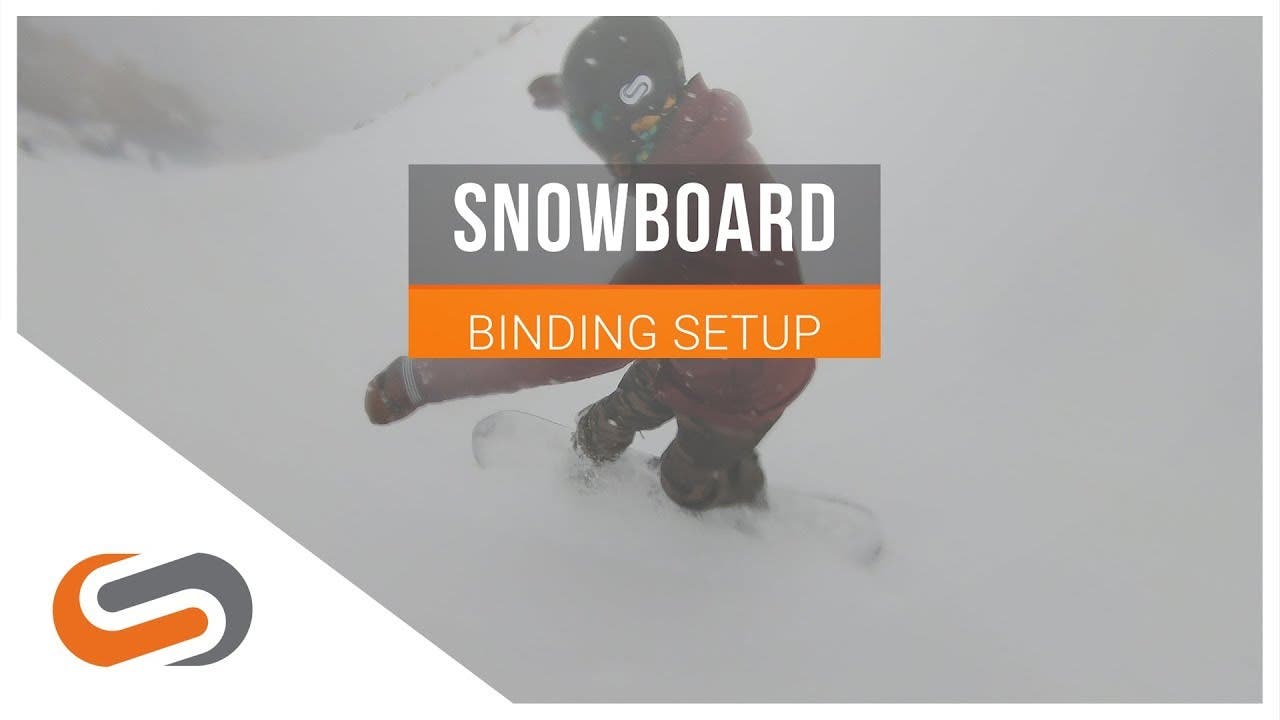
So, you’re ready to conquer the mountain slopes with your new setup this season. Problem is, the bindings are giving you a little trouble. Stance width, binding angles, lead foot. Maybe “a little” is an understatement. Mounting your snowboard bindings doesn't have to be complicated. In fact, it's easy with some knowledge. Check out our review below and you'll know how to mount and adjust your snowboard bindings whenever you want.
Preferences and Comfort
Most of what we’ll be going over are preferences. The type of snowboarder you are now is different from the snowboarder you’ll become, and with that comes the fine tuning of your stance. We’ll give you a place to start, and then you can experiment as much as you want.
Before deciding on a stance, remember you’ll be committing to it on your run. Starting with what’s comfortable can spare you unnecessary strain which means longer days on the slope without the regret the following morning.
Determining Stance
First, we’ll need to determine if we stand regular or goofy. Left foot forward is regular, right foot forward is goofy. Neither is better than the other, it all comes down to preference and comfort.
Let’s make finding our lead foot as easy as possible. Give yourself some space, fall forward, and let your body catch itself. Whichever foot stopped your fall is likely the lead foot and will be at the front of your snowboard.
Finding the Nose of Your Snowboard
Unless you have a true twin snowboard, knowing which end is the nose (front of the snowboard) and the tail (the back) is important for getting the most out of your board.
The quickest solution is finding an image of the snowboard on a vendor’s website. Typically, the snowboard is shown upright from nose to tail.
There are a few other tests we can use. Graphics can point us to the nose. Some boards have pointier noses than tails. We can even do measurements on the binding holes or the snowboard’s ends to find the nose. Ultimately, we’re getting to know our snowboard, and it’s worth the time.
Find a Stance Width
Start with what feels comfortable. Your feet a little more than shoulder-width apart is a good starting point. From there you can widen or narrow your stance.
A wider stance helps with balance. The greater range of movement helps with split-second balance corrections, and you can ride lower.
On the other hand, a narrower stance is better for maneuvering. Turns are easier to start and hold, especially when executing multiple changes in direction in quick succession.
Centered vs Setback Stance
Most snowboards have a recommended mounting position for the snowboard bindings near its center. It’s good for beginners to get a feel for their board, offering control and maneuverability as well as a baseline for experimentation. From there, you can set the bindings closer to the tail of your snowboard.
Having the bindings offset this way improves your ability to keep the nose above the snow. Floating above the powder minimizes speed loss and chances of bumping into unseen obstacles. Expect improved stability as well.
Side Note on Mountings
If you watched our YouTube video, you may be wondering about the Burton EST and Channel system Kevin mentioned. Burton manufactures snowboards with a unique mounting system called the Channel. Instead of bolt mounting patterns drilled into the board with a limited number of stance options, Burton’s Channel allows for micro-adjustments for limitless fine tuning.
The EST system is designed to work exclusively with the Channel. If you want the best from Burton but have a different brand snowboard, they have their Re:Flex bindings that are compatible with traditional mountings.
Regardless of mountings, setting up your snowboard bindings follows the same basic steps.
Choosing Stance Angles
Your snowboard bindings have adjustable dials for a variety of stances. Without getting into a topic for another time, the binding angles are mostly preference. Again, you’ll want to start with what feels natural before trying out other angles.
Some variation of a “duck” stance, where your toes point out, will probably be the most comfortable. A mirrored “duck” stance (+15, -15) might be better if you’re using a twin board to let you ride switch, but for a more directional setup consider starting at (+15, -9) like Kevin suggested to Rob for all-mountain riding.
Mount Your Snowboard Bindings
After you’ve decided what stance to use, fit your bindings to the snowboard.
Make any adjustments necessary, including centering the binding on the board. Ideally the heel and toe edge will be equidistant over the board. If either edge is jutting out more than the other, you could have unnecessary drag on the slope.
Now it’s time to screw the bindings in. Screw until snug and avoid overtightening.
Highback Settings
Once your bindings are properly mounted, there’s one more adjustment to make that can affect your performance on the snow. Adjusting the highback, or forward lean, of the bindings changes the response you get from your heels. The more forward angle they have, the more response you get.
Experiment on the slope to find what’s best for you.
Hit the Slopes
All done. Now enjoy the powder.
More from SportRx
If you found this blog helpful and are looking for more, check out our other Ski and Snowboarding section and our YouTube channel for more.