You have a mountain bike and gear, and you've been tearing up the local MTB trails. Now, you feel like you're ready to take your shredding to the next level. You're aware of some of the trail features you might be facing, but how do you tackle them? What else is out there? You may have heard something about technical trails, ladders, and jumps but we're here to guide you through anything you may have missed.
What are Technical MTB Trails?
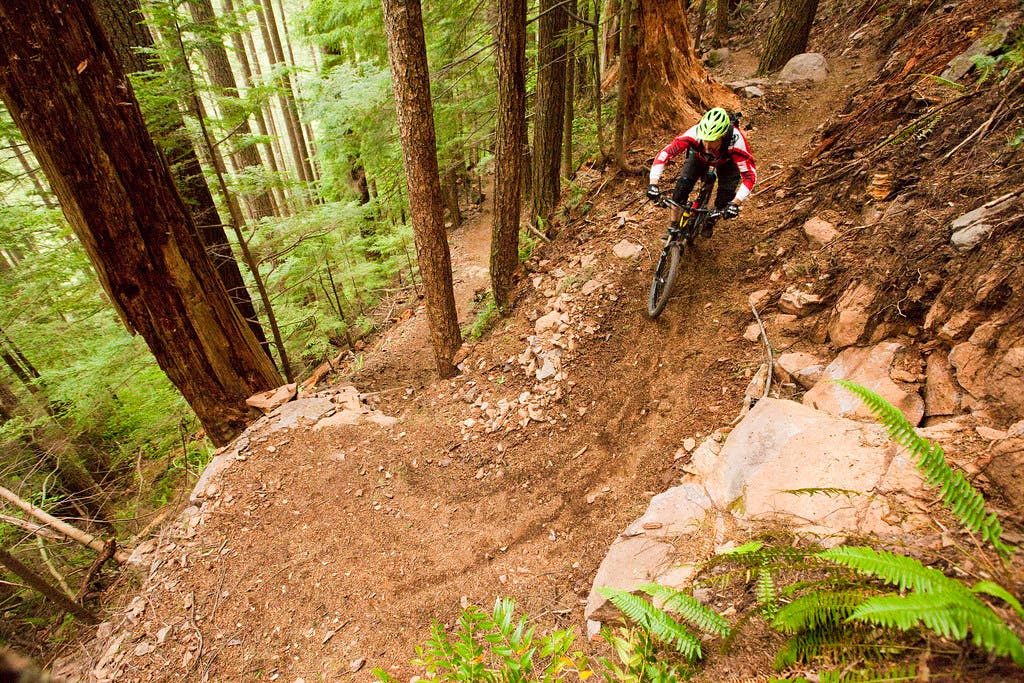
There are a number of factors that can make a mountain bike trail “technical,” including things like the width of the trail, gradient, and the size of rocks and roots. Additionally, humans have added fun tech such as ramps, ladders, and berms which both improve the flow as well as turn up the volume on gnarly. What is technical to a beginning rider is not necessarily technical to a more experienced one. Fortunately, bike parks will rate the difficulty of their trails to keep you on terrain you can handle. This ensures that you have a memorable experience,that doesn't include suddenly launching off a 20 foot step down wondering how good your insurance is. Speaking of experience, here are a list of the terms for features you will encounter out on the trails!
What MTB Trail Terms Should You Know?
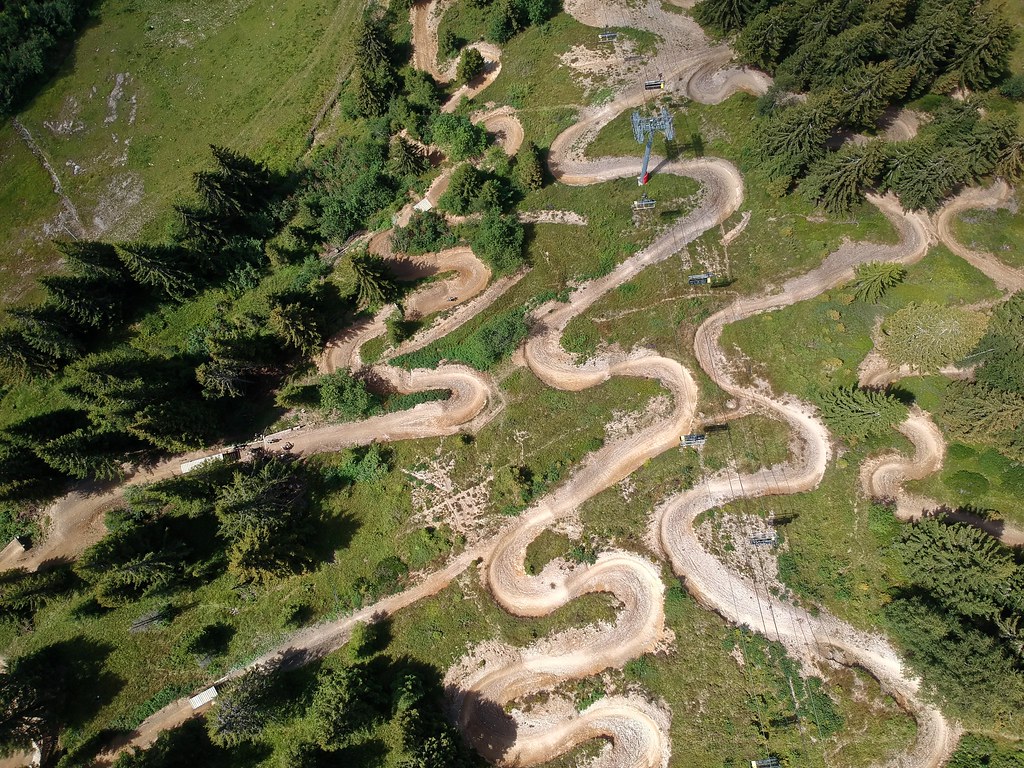
Switchbacks: Where the trail will turn 180 degrees on a tight corner.
Rolldown: Is where the trail drops significantly, but you’re able to roll down with both wheels firmly on the ground.
Drop: A drop is where the trail falls away sharply, where you are not able to roll the bike down. You have to carry enough speed to allow both wheels to hit the landing at the same time.
Berms: A bermed corner is where the corner is built up higher on the outside than it is on the inside. This allows a rider to carry a higher amount of speed through a corner by distributing their weight into the banked earth. MTB trails at bike parks will often feature epic, perfectly manicured berms that allow riders to fly through corners.
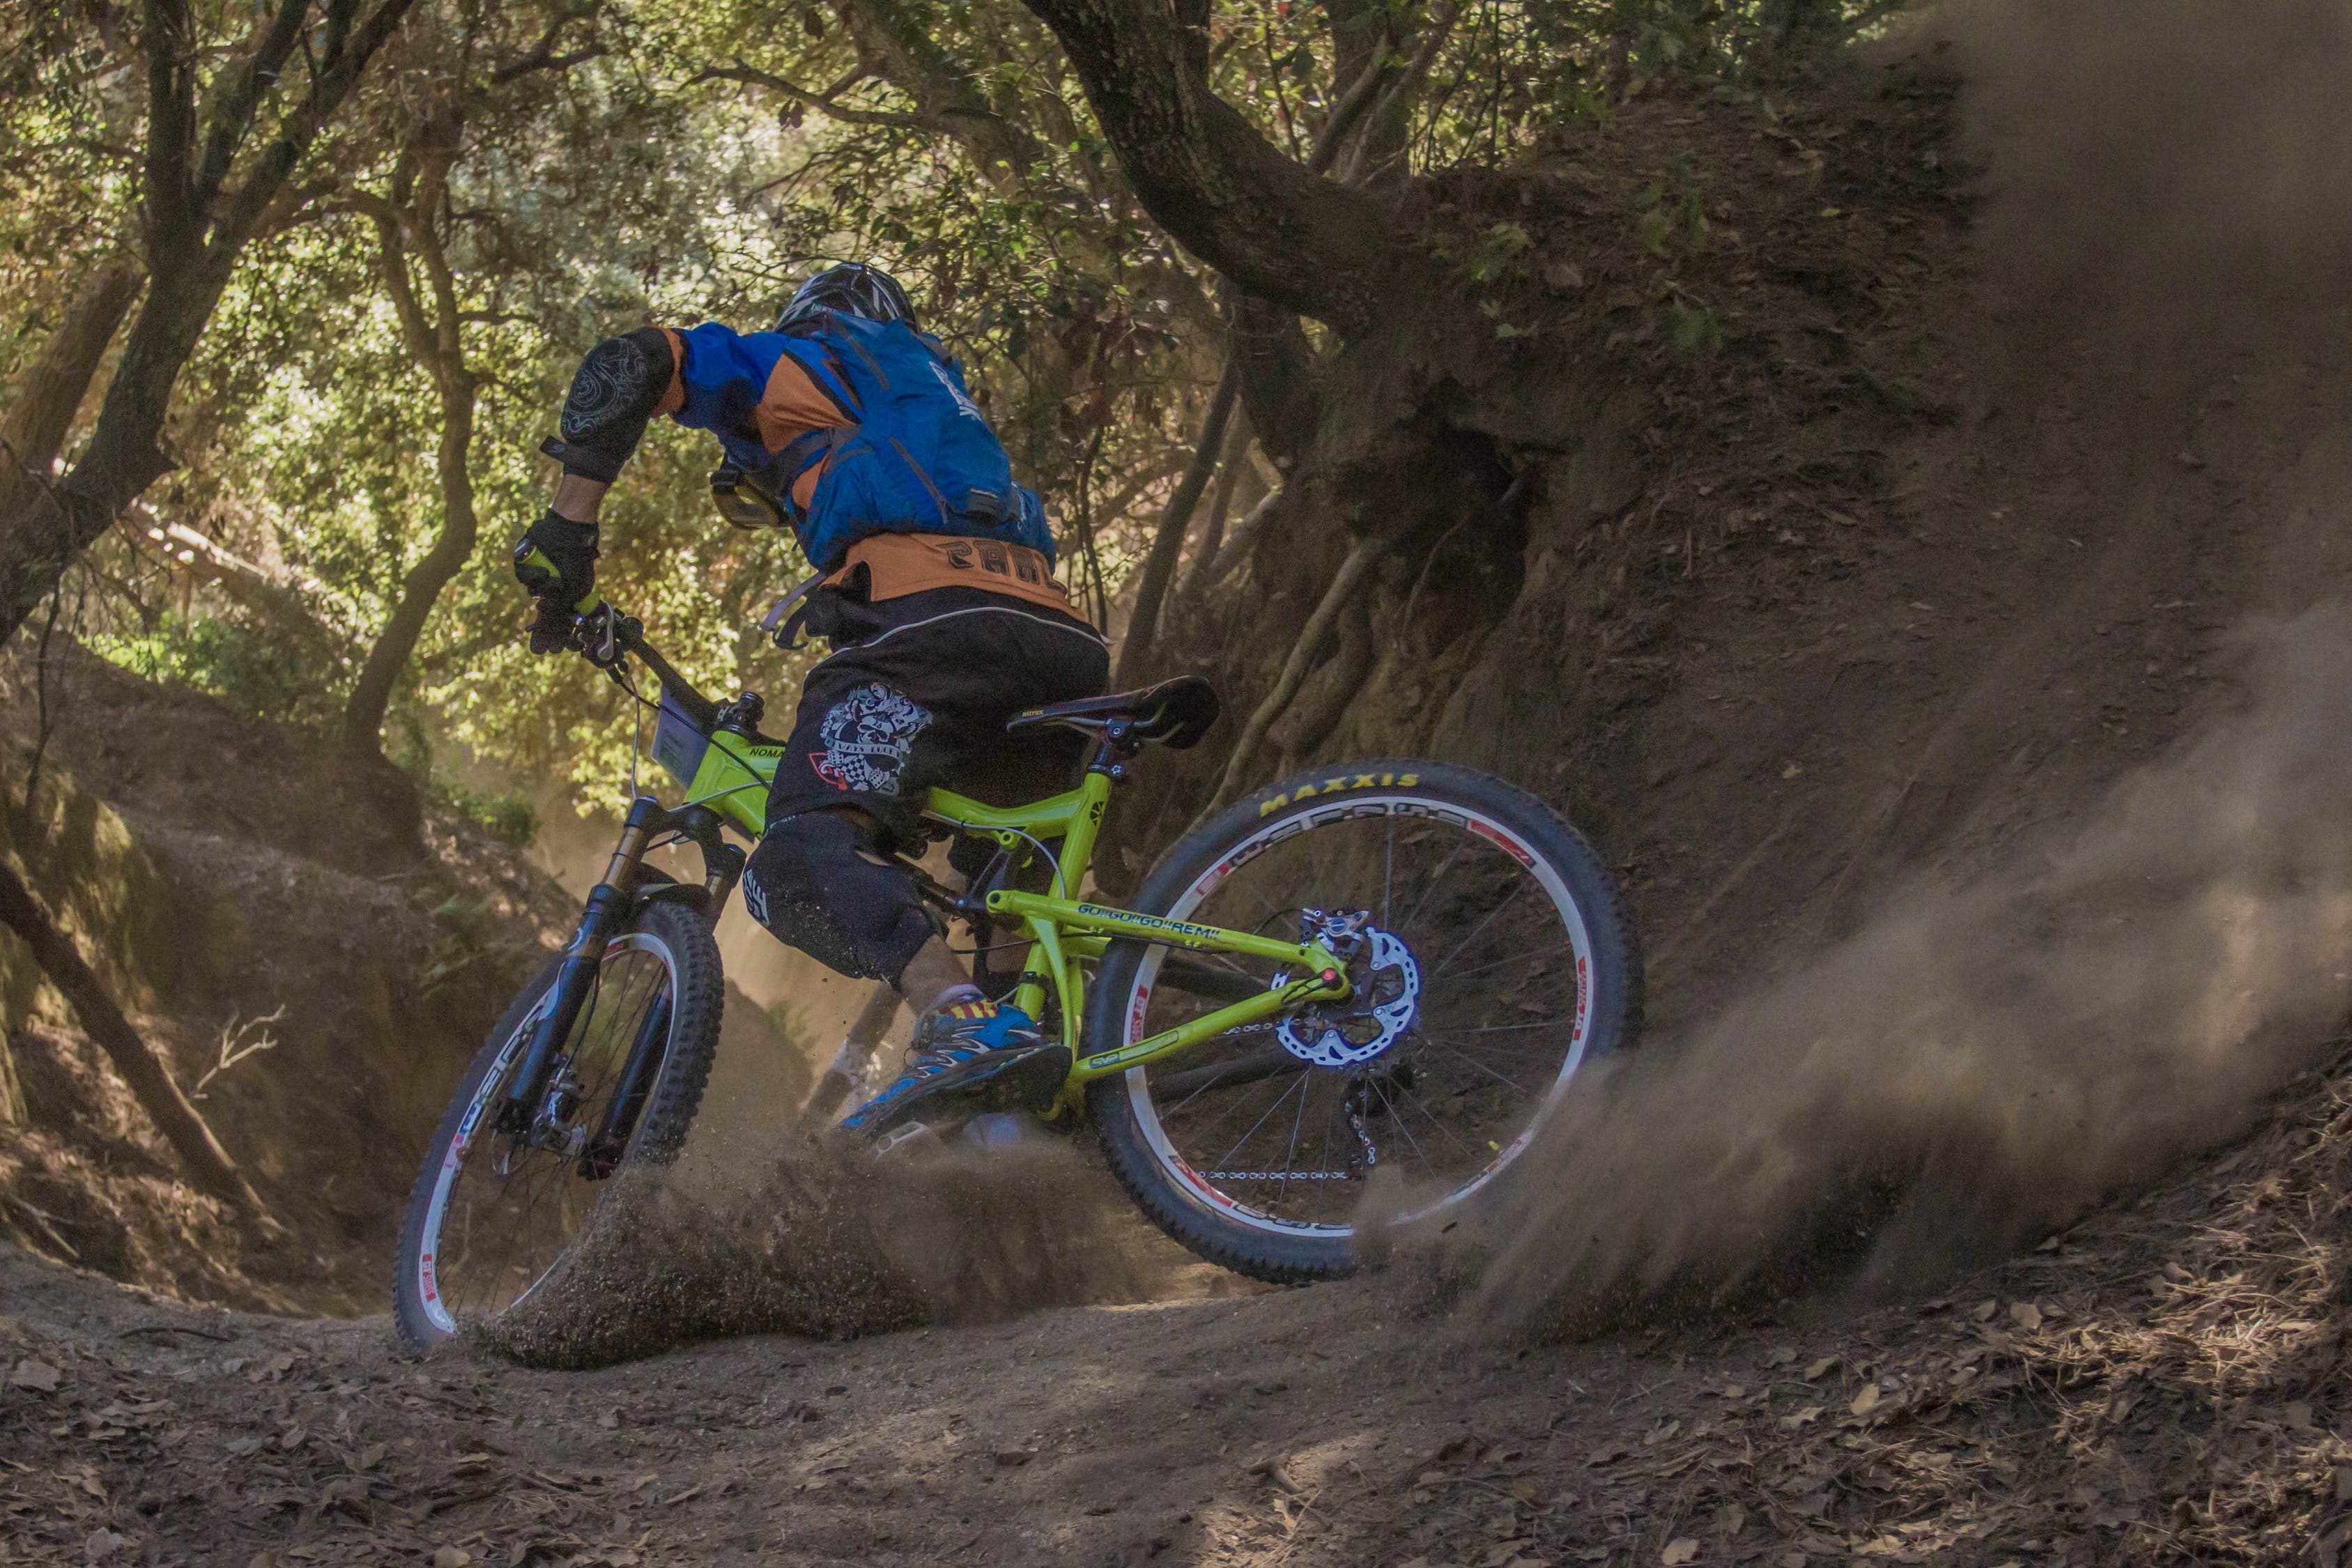
Flat Cornering: Flat cornering is an important technical skill because you won't have a berm to absorb all of your speed. Like bermed corners, you need to manage how fast you approach a flat corner, and brake at the right time in order to stay smooth and carry momentum. Practice on wider trails before trying to rip through tight singletrack bends!
Rock Gardens: A rock garden can be an intimidating trail feature, as they can look menacing as you approach. They are exactly what the name suggests, being a stretch of trail littered with small to large sized rocks. To successfully charge a rock garden it's important to be focused on the line you want to take as opposed to looking down. Focusing on what's coming, allows you to carry speed through the rocks and over the bumpier sections. Go to slow, and you're bound to get stuck or tip!
Water Bars: These come in all shapes and sizes. Their purpose is to allow water to drain off the trail efficiently, and keep flooding to a minimum. You will find them on climbs and descents, often featuring submerged beds of smallish rocks at their bottom. Because of this, some speed as well as possibly lifting your front wheel in a wheelie as you pass through are advised. The wheelie is more to look cool than anything else.
Jumps
Jumps are just what they sound like; places in the trail that allow you and your bike to “jump” off the terrain. The key here is to practice them on curbs and small ramps before going huge. First, stay low and pull the handlebars up as you ascend. As you begin to descend, you will brace to softly land both tire.
Jumps can be an epic part of any trail system and the high point of your ride! But remember to start small and build up to bigger stuff as you're ready. You'll be sending huge whips over gaps in no time, we're sure!
Doubles: This type of jump requires that the rider must clear an area between the lip, and landing. Some, have short gaps while others have large gaps that take speed and precision. Because we want you to LOVE mountain biking, our advice is to start small before hitting anything to crazy.
Table Top: These trail features can be mixed up with doubles, the main difference from a double is that you can safely ride over a table top with both wheels firmly on the ground. Table tops also allow riders to practice jumping in order to build better technique for doubles.
Step Up: Step ups can be pretty rad. A step up is a jump that launches a rider from a lower lip (the tech term for top of a jump) to a higher landing that could be a ledge, rock, or ladder.
Step Down: As you may have guessed, this is the opposite of a step up. You start at a higher spot which may be a lip or a ledge, and launch to a lower landing. Many epic MTB videos feature riders sailing off impossibly tall step downs and landing safely below in clouds of dirt.
When hitting a step down or drop, you need to keep enough momentum to not tip over the edge. The idea is to roll both wheels off the edge while pulling back on the bars. When done correctly, the front will remain elevated while the back wheel follows. If the front wheel drops off the ledge while the back wheel is still rolling, prepare for a face first endo over the bars!
What is a MTB Ladder?
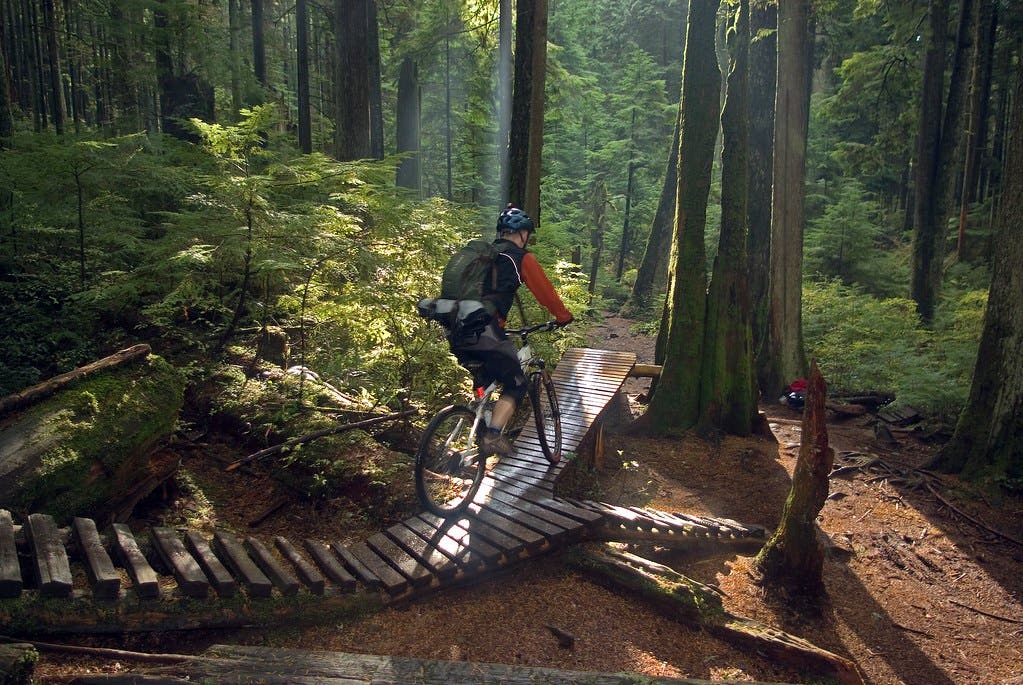
Ladders are elevated trestle-like sections of MTB trails that often span impassible sections of forest debris. The key to riding them is balance. Keeping your hips low and dragging your rear brake slightly will help you keep your balance and maintain control over your bike.
Ladders can be one of the most epic looking features on a trail. If you've seen pictures or video from the epic North Shore or Whistler Bike Park, you'll know what I mean. Features in ladder sections can include; berms, jumps, and teater-totters! Because the width of these wooden masterpieces can be as narrow as the size of a tire, be aware of trail difficulty! The last thing you want is to be balancing precariously on a ledge above a painful drop!
How Do Parks Rate MTB Trails?
The International Mountain Bicycling Association (IMBA) has done a great job at standardizing MTB trail ratings to ensure that people can enjoy the sport knowledgeably and safely.
The Trail Difficulty Rating System (TDRS) is concerned with technical trail difficulty since physical difficulty can be communicated through signage that states a trail's length, and elevation change. The purpose of trail ratings are as follows:
- Help trail users make informed decisions
- Encourage visitors to use trails that match their skill level
- Manage risk and minimize injuries
- Improve the outdoor experience for a wide variety of visitors
Get Prescription Mountain Biking Sunglasses online at SportRx
Need prescription Mountain Biking Sunglasses? Done. When you shop with us, you’ll find video guides and tooltips throughout the build process as you customize the perfect pair. An answer to all your questions is at your fingertips, and if you want to chat with an expert, Contact Us. We’ll put you in touch with one of our friendly in-house opticians who can help you build your prescription Mountain Biking Sunglasses.
Ditch risky online shopping with the See Better Guarantee. Try your sunglasses for 45 days. If you’re not satisfied, send them back. Get a full refund, exchange, or credit towards a better pair. And return shipping? Covered. Get your pair of prescription Mountain Biking Sunglasses at SportRx today!

